By integrating and connecting your WooCommerce store with Matdespatch, you can now expedite all of your shipping processes by using the official DelyvaX plugin. This plugin helps store owners integrate WooCommerce with [DelyvaX] (https://delyvax.com).
Services offered in DelyvaX WooCommerce Plugin
- Fulfil shipment with ‘Preparing’ status
- Create shipment automatically on ‘payment complete’ or manually in fulfil order
- Edit order > Fulfil order
- Edit order > Print label
- Edit order > Track shipment
- Webhook for preparing, start-collecting, collected, failed collection, start delivery, delivered, and failed-delivery.
Steps to integrate and connect your WooCommerce store with Matdespatch
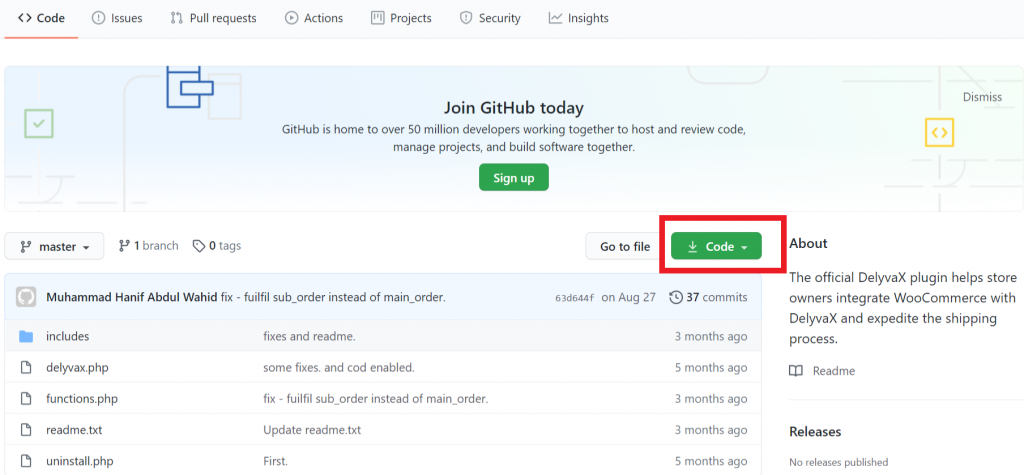
- Download the plugin in zipfile from here.
2. Go to your WordPress dashboard and click on the Plugins tab > Add new > Upload Plugin > Choose file. Select wp-delyvax-master.zip that has just been downloaded and upload the plugin.
3. Click Install Now
4. Click Activate Plugin
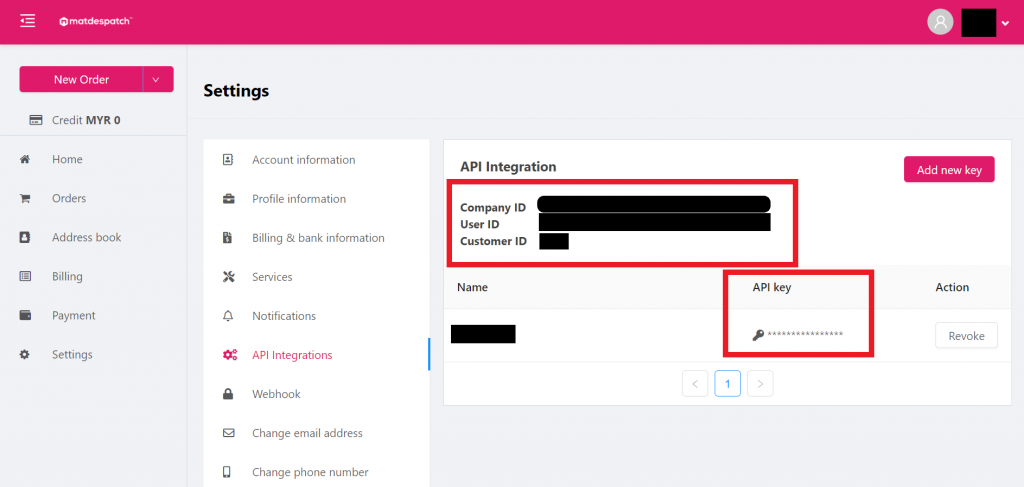
5. After that, go to your Customer web dashboard and click on Settings > API Integration
6. Get your Company ID, User ID, Customer ID and the API key
7. Next, go back to your WordPress dashboard and click on the WooCommerce tab > Settings > Shipping tab > DelyvaX
8. Under the Settings, insert your Company id, User id, Customer id, and API Key from the Customer web dashboard
9. Configure the rest of the settings per your requirements
10. Click the Save changes button to save your configuration
Video Tutorial
You can also watch the tutorial video below. In this video, the steps to integrate and connect your WooCommerce store with Matdespatch are demonstrated after you have already activated the DelyvaX WooCommerce plugin.
Your WooCommerce store should be integrated and connected with us if you follow each of the steps accordingly. We hope you have a good time using our official plugin to expedite all of your shipping processes. We are also looking forward to working together with you.
Good luck!